For this creation, you need two images. One that will serve as the background, and one that contains a center object that will be placed onto the background. These will be merged smoothly. First, open the image that will be in the center. This video tutorial shows the first steps to take in Gimp.
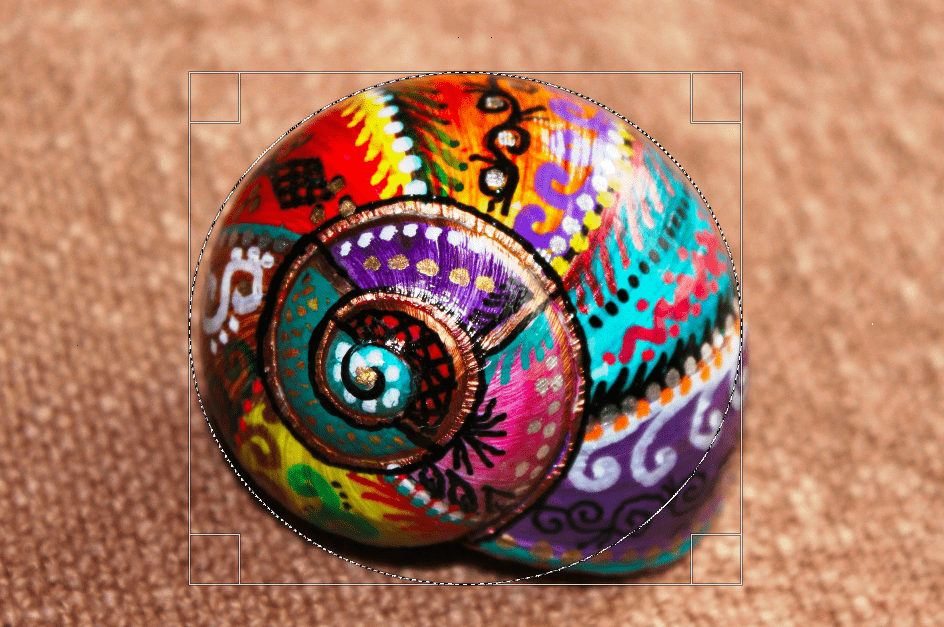
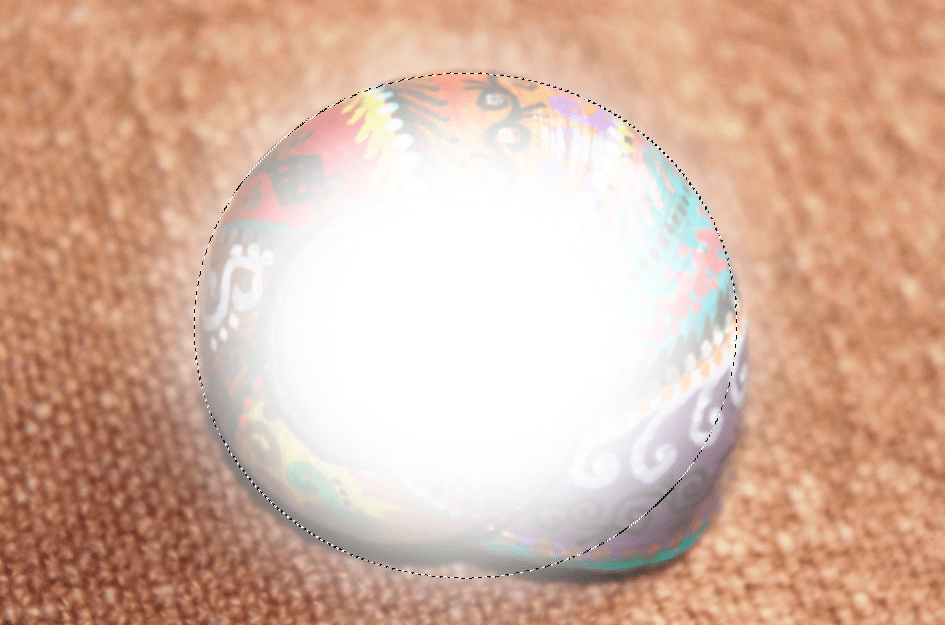
Use the ellipse select tool and select an area around the center object. Make the edges soft using select → feather. An input with only a few pixels will create a hard transition, and more pixels create a softer transition. The example below has a 200-pixel feather-input. Cut out the center object, and paste it on top of the other chosen (outer) image. Before permanently merging the two images, the transparency of the center image can be adjusted. In this example, the transparency was set at 60%. Some images of the steps to take:
Creating a book cover using Canva online
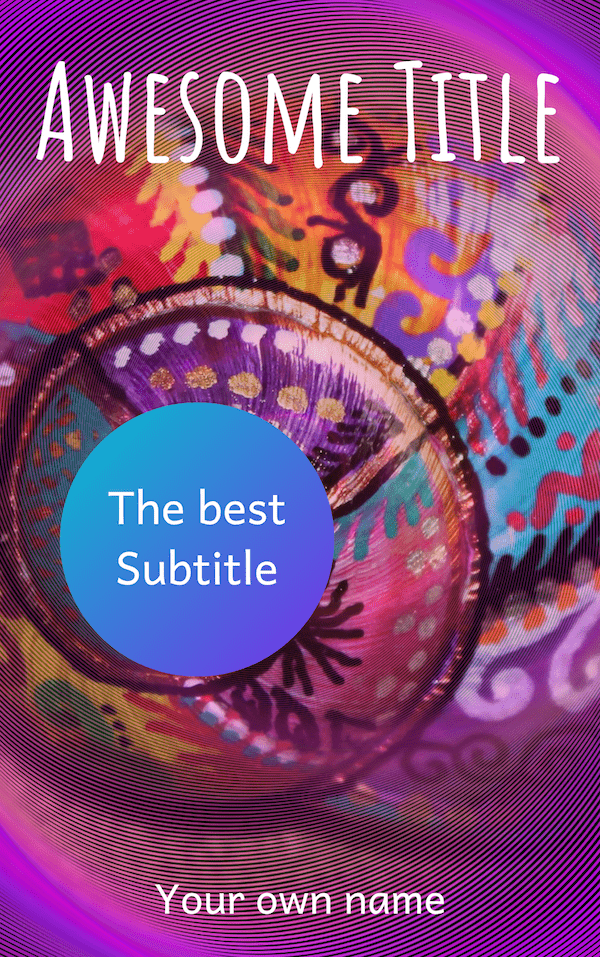
The blended image can be exported as a PNG-file. This file can be uploaded at Canva and integrated into your book cover design. At the top right of their homepage, you select create a design, for which you need a free Canva account. In case the first part of designing your own background image is too hard, you can select one of the many free images that are available on Canva.
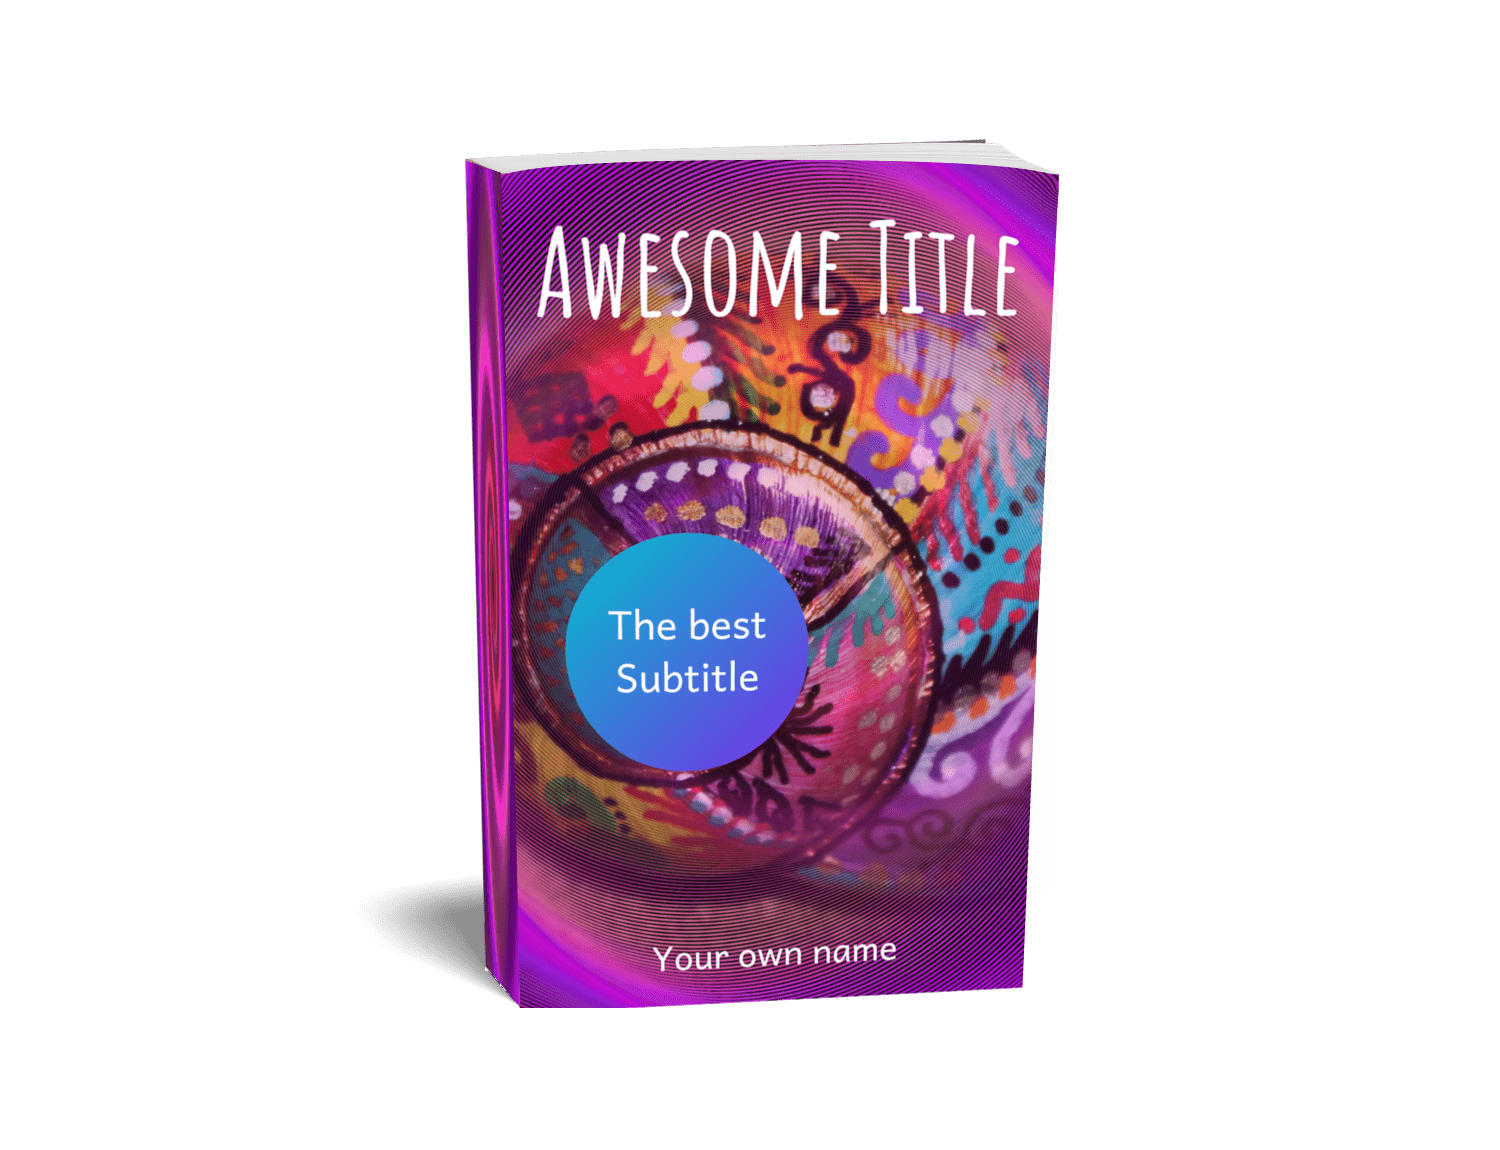
Canva offers many interesting features, such as effects that transform the background image. Next, several elements can be dragged and dropped as desired. The text elements and visual elements can be resized and changed easily. Upon completion, the cover design can be downloaded as a PNG-file. For this example, the blended image was used as the background and text and the circle shape has been added in Canva:
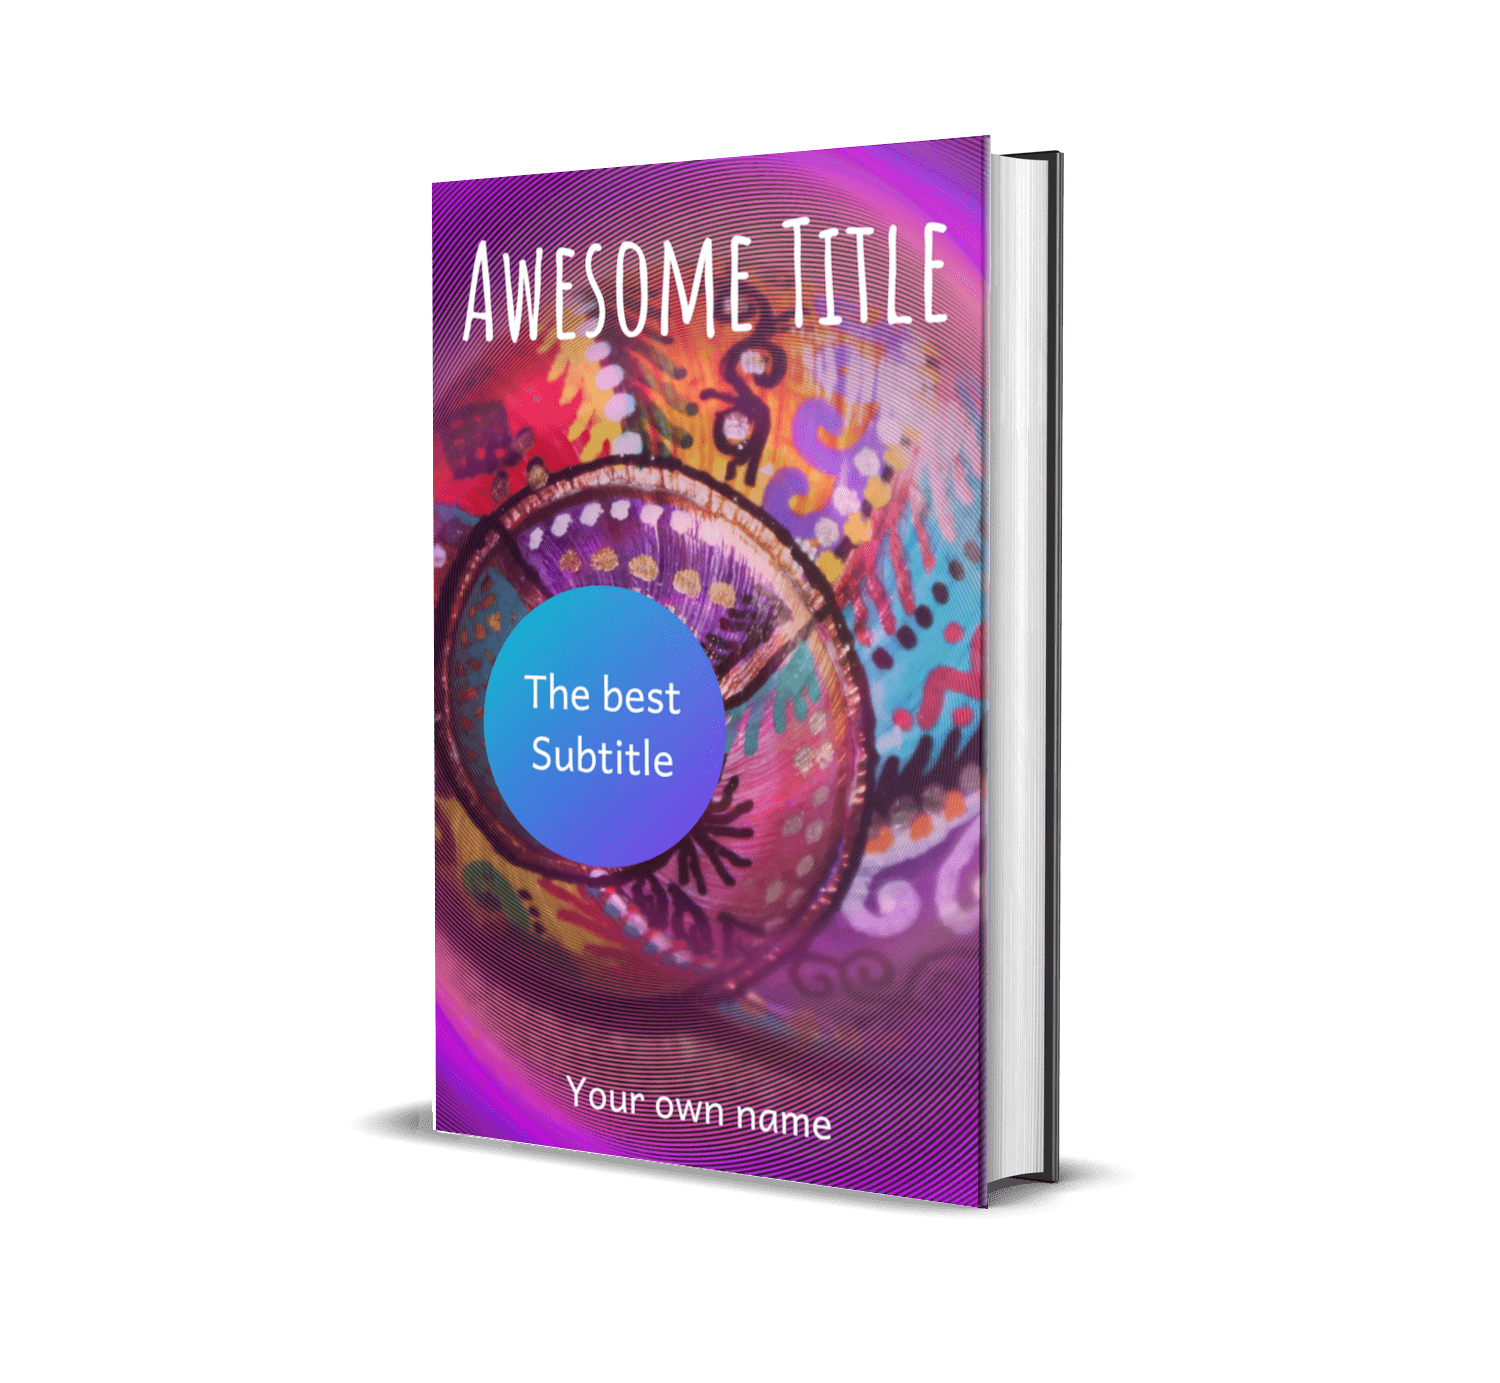
Creating a threedimensional book image online
DIY Book Design allows you to make a free 3D mock-up of the book cover. It’s a very simple process of selecting the type of 3D cover you like, then uploading the cover image and downloading the generated image of the 3D model.
Reading through this Digital Creativity Snippet has likely given you the sense that you can easily create your own book cover design. On top of that, you might have discovered that it’s actually possible to make the designs look professional!
This website uses cookies to improve your experience while you navigate through the website. Out of these cookies, the cookies that are categorized as necessary are stored on your browser as they are essential for the working of basic functionalities of the website. We also use third-party cookies that help us analyze and understand how you use this website. These cookies will be stored in your browser only with your consent. You also have the option to opt-out of these cookies. But opting out of some of these cookies may have an effect on your browsing experience.
Necessary cookies are absolutely essential for the website to function properly. This category only includes cookies that ensures basic functionalities and security features of the website. These cookies do not store any personal information.
Any cookies that may not be particularly necessary for the website to function and is used specifically to collect user personal data via analytics, ads, other embedded contents are termed as non-necessary cookies. It is mandatory to procure user consent prior to running these cookies on your website.